- NEW
-
Bathroom Furniture
Bathroom Furniture TypesBathroom Furniture StylesBathroom Furniture Finishes
- Baths
-
Basins & WCs
Basin TypesBasin & WC Styles
-
Taps
TAP TYPESTAP STYLES
- Showers
-
Lighting
Smart Lighting Solutions
-
Mirrors
-
Cabinets
Cabinet TypesCabinet Styles
-
Accessories
Accessory Types
-
Guides & Ideas
InspirationBathroom Style
Wet Rooms- Your Guide to the Breakout Bathroom Trend
Wet room, shower room, walk-in shower…whatever you choose to call it, the newest trend in bathroom design is proving watertight.
Once upon a time, the idea of having your entire bathroom soaked in water was the stuff of showering nightmares. Towels upon towels were strewn across bathroom floors to contain the deluge; sudsy footprints escaping onto the hallway carpet. With the inevitable influence of Australian and Japanese interior design, however, British attitudes and tastes have changed in favour of this thoroughly contemporary trend. Designed with proper ventilation and drainage, a wet room bathroom affords the same benefits as an open plan kitchen, doing away with disjointed, closed in areas and making the most of your space. If this isn't enough to convince you, we have compiled an extensive guide to wet rooms, from planning your design to choosing surfaces and fixtures, with plenty of wet room ideas along the way.
Design Question
What is a wet room?
Easily recognised by their open-shower layout, wet rooms or shower rooms are completely waterproofed bathrooms, with floor drainage to prevent waterlogging. Usually tiled floor to ceiling, or coated in Venetian or Tedelakt waterproof plaster, this watertight bathroom design seals moisture away from the remainder of your home and does away with the need for shower trays or sectioned wet areas.
Benefits of Wet Rooms
Wet rooms provide a surprising number of benefits to homeowners. With more options in terms of design, a space that’s easier to clean, and a bathroom that is easily accessible, this new bathroom trend is definitely worth considering for your next renovation.
Space
The very nature of a wet room layout opens up your bathroom design and conversely, can make smaller bathrooms appear larger by eliminating the need for shower trays and specific wet areas. By increasing floor area your room will naturally look larger, airier and more spacious.
Accessibility
Being level entry, wetrooms are a wonderful way to add character to accessible bathrooms. Waiving the need for boundaries in your bathroom layout has the benefit of making the space more accessible for wheelchairs and other mobility supports. Equally, there is usually far more space within a wetroom shower area to fit a shower seat or even to build this convenient feature into your design as a ledge or integrated seat.
Cleaning
The grit, dirt and grime that settles just out of reach in the joints of shower enclosures and shower trays are an all too familiar sight in many a bathroom, making even newly renovated bathrooms look tired and dated. A wetroom design, however, offers seamless surfaces that can be easily cleaned and maintained, keeping your shower room looking fresh and new.
Consider Bathroom Size & Layout
Unfortunately, wet rooms are a bathroom design feature that require considerable thought- and are certainly not a quick fix option. When planning a wet room, you would be advised to first take into account the space you hope to transform.
Small Wet Room Design
Unlike other aspirational bathroom designs that seem to require acres of usable space, wetrooms naturally lend themselves to small areas. In fact, a more compact wetroom has the benefit of naturally keeping the space warmer. Shower room designs can fit comfortably in a minimum space of 800mm x 800mm, making wet rooms a solid alternative to traditional layouts for compact bathrooms.
Large Wet Room Design
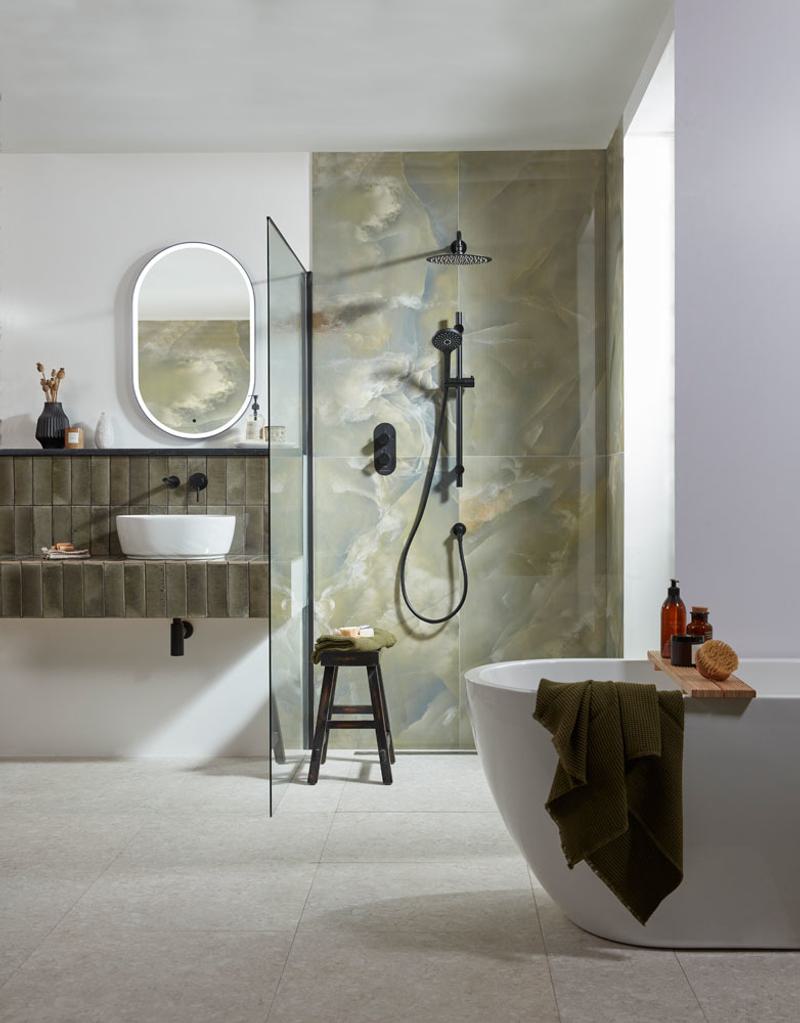
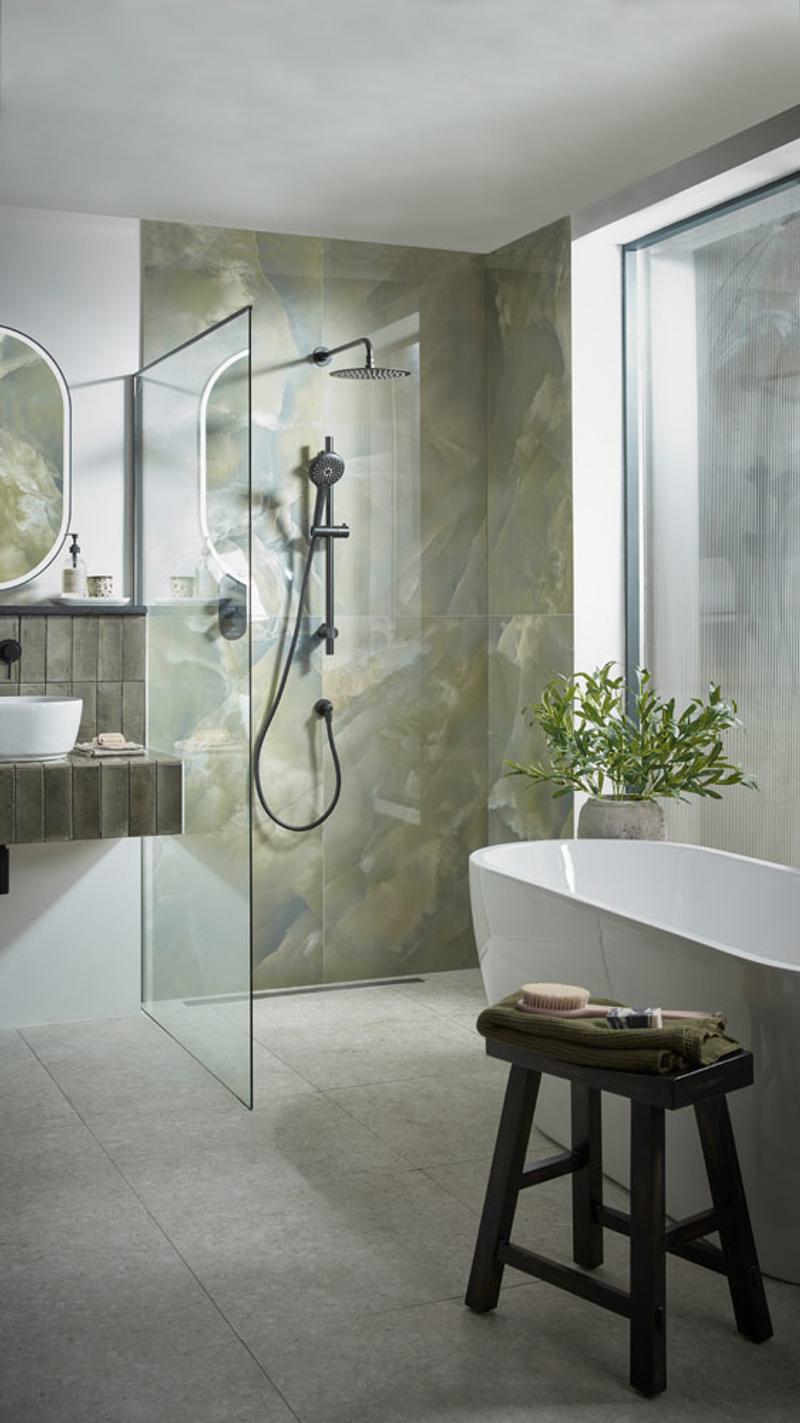
With the luxury of space comes the luxury of choice. Large areas have the benefit of taking the wetroom beyond the shower / WC / sink formula to create something truly opulent. If you have space to spare in your bathroom, you may want to consider introducing a freestanding bath into your wet room layout. You could even go a step further and install double showers.
Awkward Spaces
The beauty of a wet room is the cocooning effect it has on a space. In this respect, awkward, disjointed rooms can be transformed into a single, seamless area dedicated wholly to your shower! Awkward spaces will especially benefit from wall to floor waterproof plastering, eliminating the need to tile into pokey corners. Loft bathrooms or attic conversions are especially suited to a wet room design.
Tanking and Waterproofing
Now to the technical part. The single concern many homeowners have with the idea of a wetroom is the thought of water seeping through to the remainder of their otherwise dry and comfortable homes! Thankfully, the principle of wet room design is that the entire space is ‘tanked’ or waterproofed, creating a sealed space for water and moisture. While we don’t recommend you take on a DIY wetroom, we have outlined the steps that your installer will take to ensure a watertight and durable wet room design.
Introducing a gradient
In order for water to flow easily into the wet room floor drain, your installer will need to ensure that there is a gradient of at least 15mm from the edges of the designated wet area to the waste outlet. The easiest and least invasive way to achieve this is to use a wet room former, a thin shower tray that sits level with your tiling but has a built-in slope to drain water. This will need to be installed before you tile the area.
Installing a waterproof membrane
Perhaps the most important element of tanking or waterproofing a wet room is ensuring that you lay the entire area with a specialised, wet room waterproof membrane, that will act in tandem with the waterproof primer and gradient to ensure your shower room can dry quickly.
Sealing your wet room
While you can use a waterproof membrane on the floor of your wet room, you must also seal your walls to keep moisture from seeping into the adjacent rooms and causing dampness. This sealant is called a flexible wall membrane, that glues and grips to every inch of your wall, and allows for small changes and expansions in the wall over time.
Ventilating your wet room
Finally, not accounting for adequate ventilation in a wetroom is often where homeowners and renovators fail, as the very nature of a wetroom means steam can be trapped. If there isn't already a direct source of ventilation like a window, your installer will recommend installing an extractor fan that circulates air from an outdoor source.
Choosing Wet Room Taps & Showers
Sparring with surfaces for centre of attention, your wet room brassware choices may dictate the look at feel of the entire room. With the introduction of new and novel finishes, taps and showers have been elevated beyond mere function to become defining features in your shower room scheme.
Matt Black Shower Systems
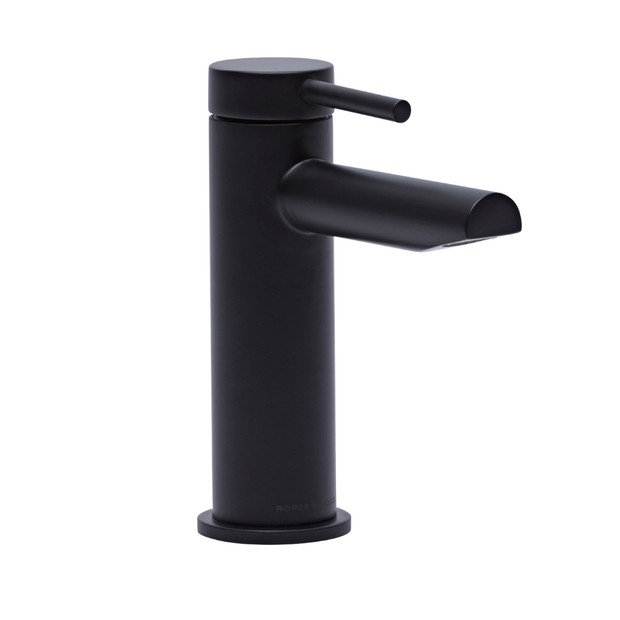
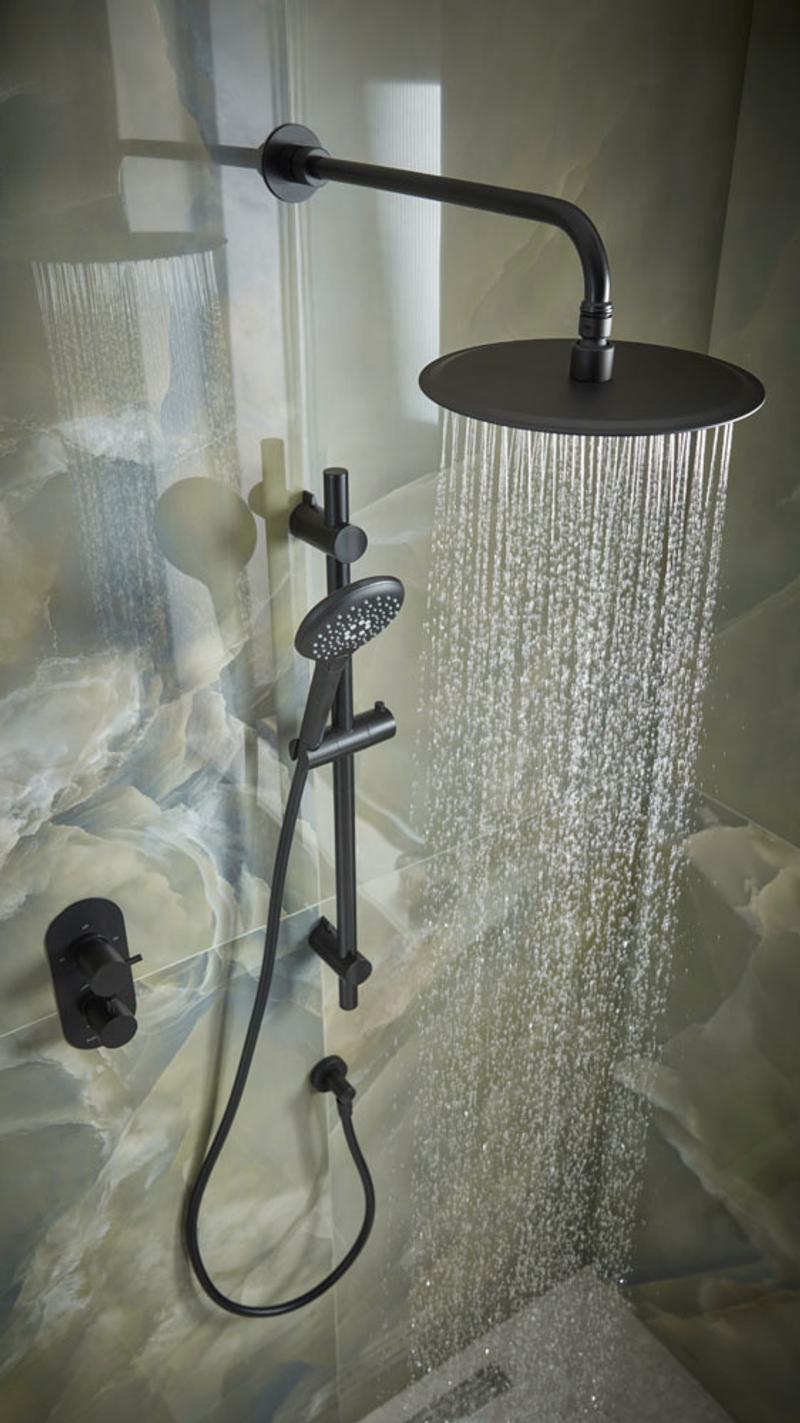
For a minimalist shower room look, opt for matt black taps, showers and accessories. Black taps, showers and black-framed wet room shower screens look smart, contemporary and confident, adding a graphic element to even the most subtle of schemes. Keep your wet room look simple yet striking by pairing a black shower system with lighter-toned stone and surfaces, or make the most of this bold brassware design by offsetting matt black against a coloured marble for a dramatic look.
Brass Shower Systems
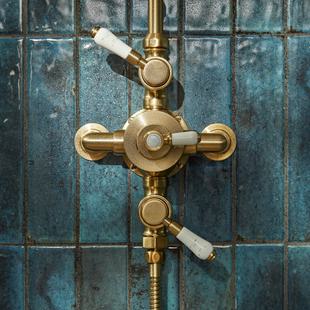
For a warmer, more Mediterranean walk-in shower design, brass fixtures are an obvious choice. Adding a lustrous element to your shower room, brass and brushed brass accessories can be paired with both traditional and modern wet room designs, and work beautifully to enhance plainer materials like concrete or travertine. Pair with brass taps, flush plates and hardware to complete the scheme.
Concealed Shower Systems
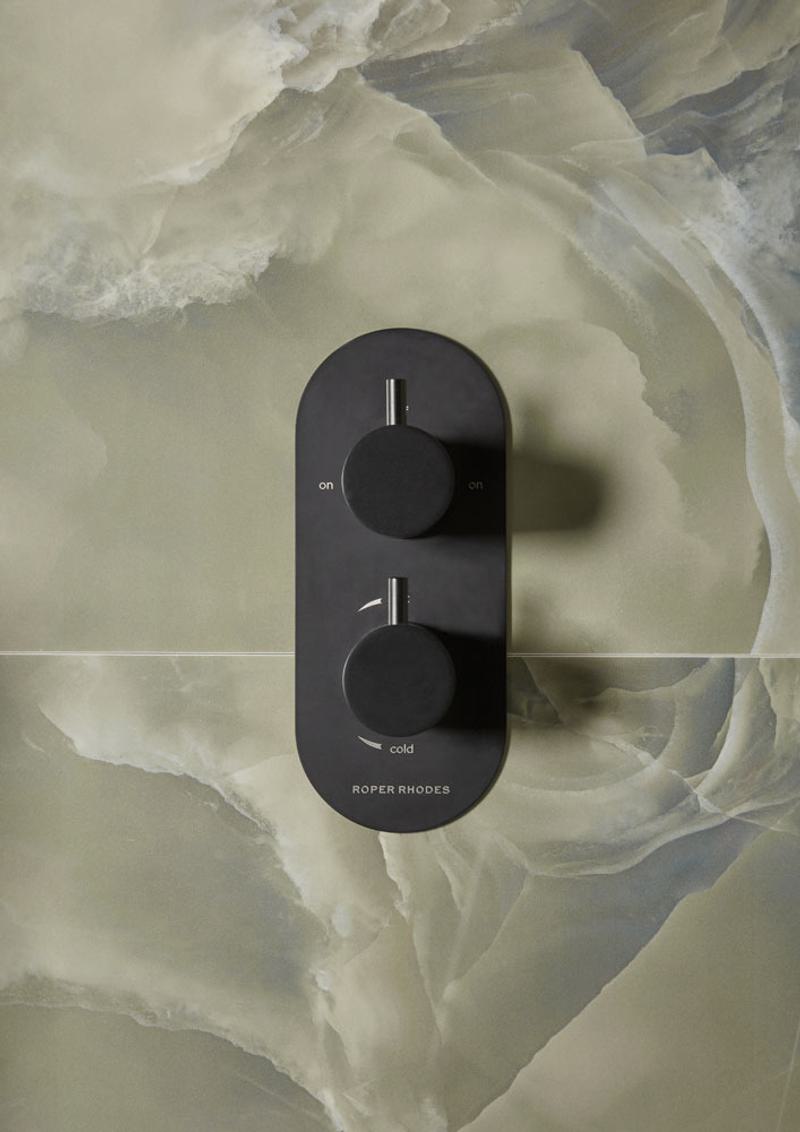
Keep the finish of your walk-in shower room clean and seamless by choosing a concealed shower system.. A concealed valve, also known as a recessed shower valve, is a valve that is hidden within the shower wall, floor or ceiling so that all that is visible to the eye is a sleek valve plate with discrete controls or shower handles, making the most of your wet room space while also highlighting the more aesthetic elements of your shower system design.
Design Question
What type of tiles should I use in a wet room?
When it comes to tile material for wet rooms, tile experts would likely recommend you use porcelain or natural stone tiles over ceramic, as both are more textured and better suited to areas prone to slippage.
WET ROOM TILES
Combine & conquer
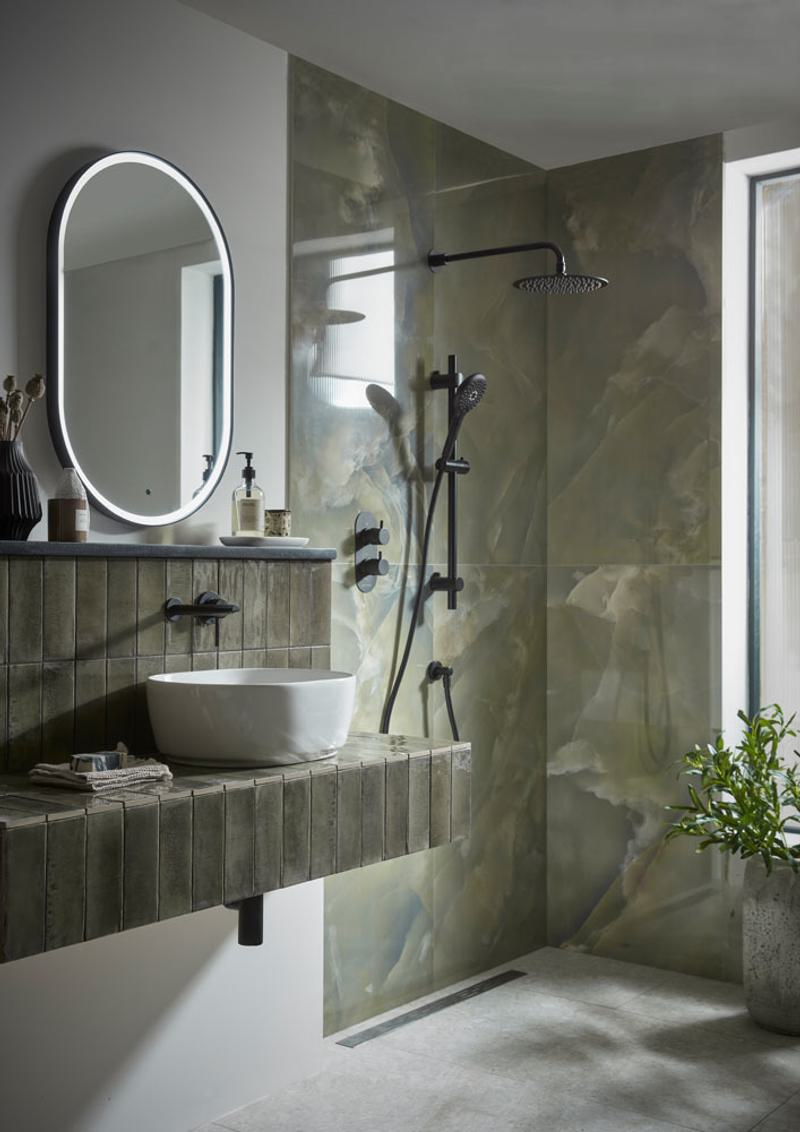
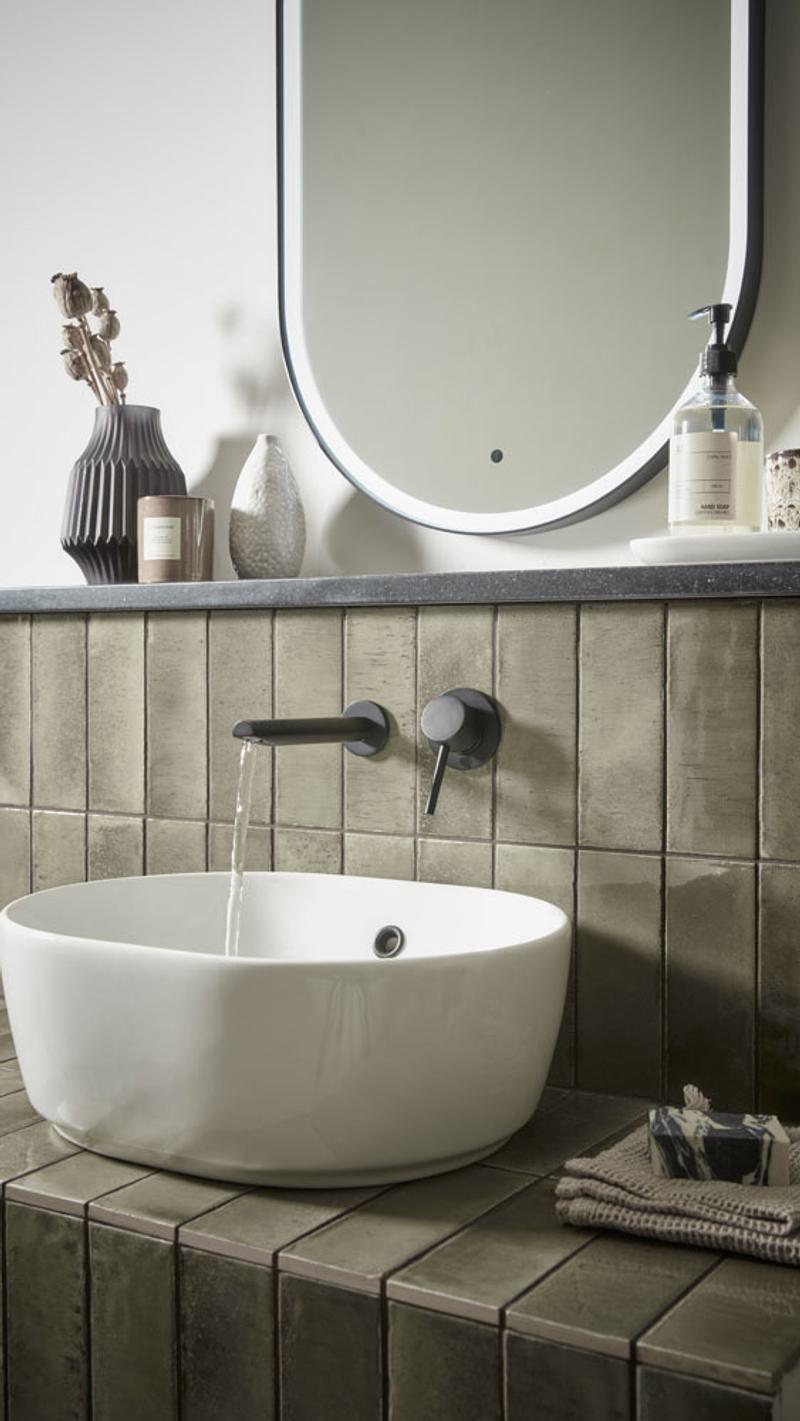
Our designer Zoe embraced the verdant tones of jade marble combined with a vertical slim zellige tile when creating our wet rooms shoot.
Choosing Shower Room Tiles & Surfaces
Sometimes associated with clinical and plain spaces, contemporary wet room designs showcase the beauty of tiles and surfaces, making materials the focal point of the bathroom. Read on for your guide to wet room tiles and some inspiring shower room ideas.
Large surface wet room tiles
Giving the impression of a single expanse of polished stone, we have seen something of a resurgence in the trend for large surface tile formats over the last three years. With fewer grout lines, large tiles provide an uninterrupted surface that is easy to tile, easy to clean and easy to maintain. As such, larger tile styles naturally lend themselves to minimalist wet room schemes, where bathroom surfaces take centre stage. With a larger area that allows the beauty of the stone veining to shine, marble or marble effect is often the first choice in terms of wet room appropriate tiles, While Carrara is the more traditional choice, new trends and colourways in marble tiles include jade or green marble tiles, black marble or even warm veined, richly toned marble in pink, rust and warm white.
Mosaic wet room tiles
Available to buy in large sheets of tiles, mosaic tiles are another strong option when tiling your wet room. Easy and quick to install, mosaic tiles will add texture and dimension to your wet room design, while also being conveniently slip-resistant. In a wide range of colours, patterns and textures, in materials from glass to natural stone, the more popular mosaic tile designs of late include finger or KitKat style vertical mosaic tiles, as well as art-deco inspired micro-hex designs. Both are an equally good choice when tiling your wet room, and can even be combined with larger surface, plainer tiles for maximum effect.
Wet room plastering
An interesting and tactile alternative to tiling your wet room is to consider using waterproof plaster from floor to ceiling. Waterproof plaster or polished plaster is a bathroom surface trend most commonly associated with warmer climates and can be divided into two types of plaster- polished stone substrate and Tadelakt- a traditional Moroccan plastering technique that finishes the wall with oil-based soap- all of things! Waterproof, water-repellent and mould resistant, the right kind of wet room plaster can save on costs, installation time and maintenance in the long term.
